Printmaking: Printed Expressions
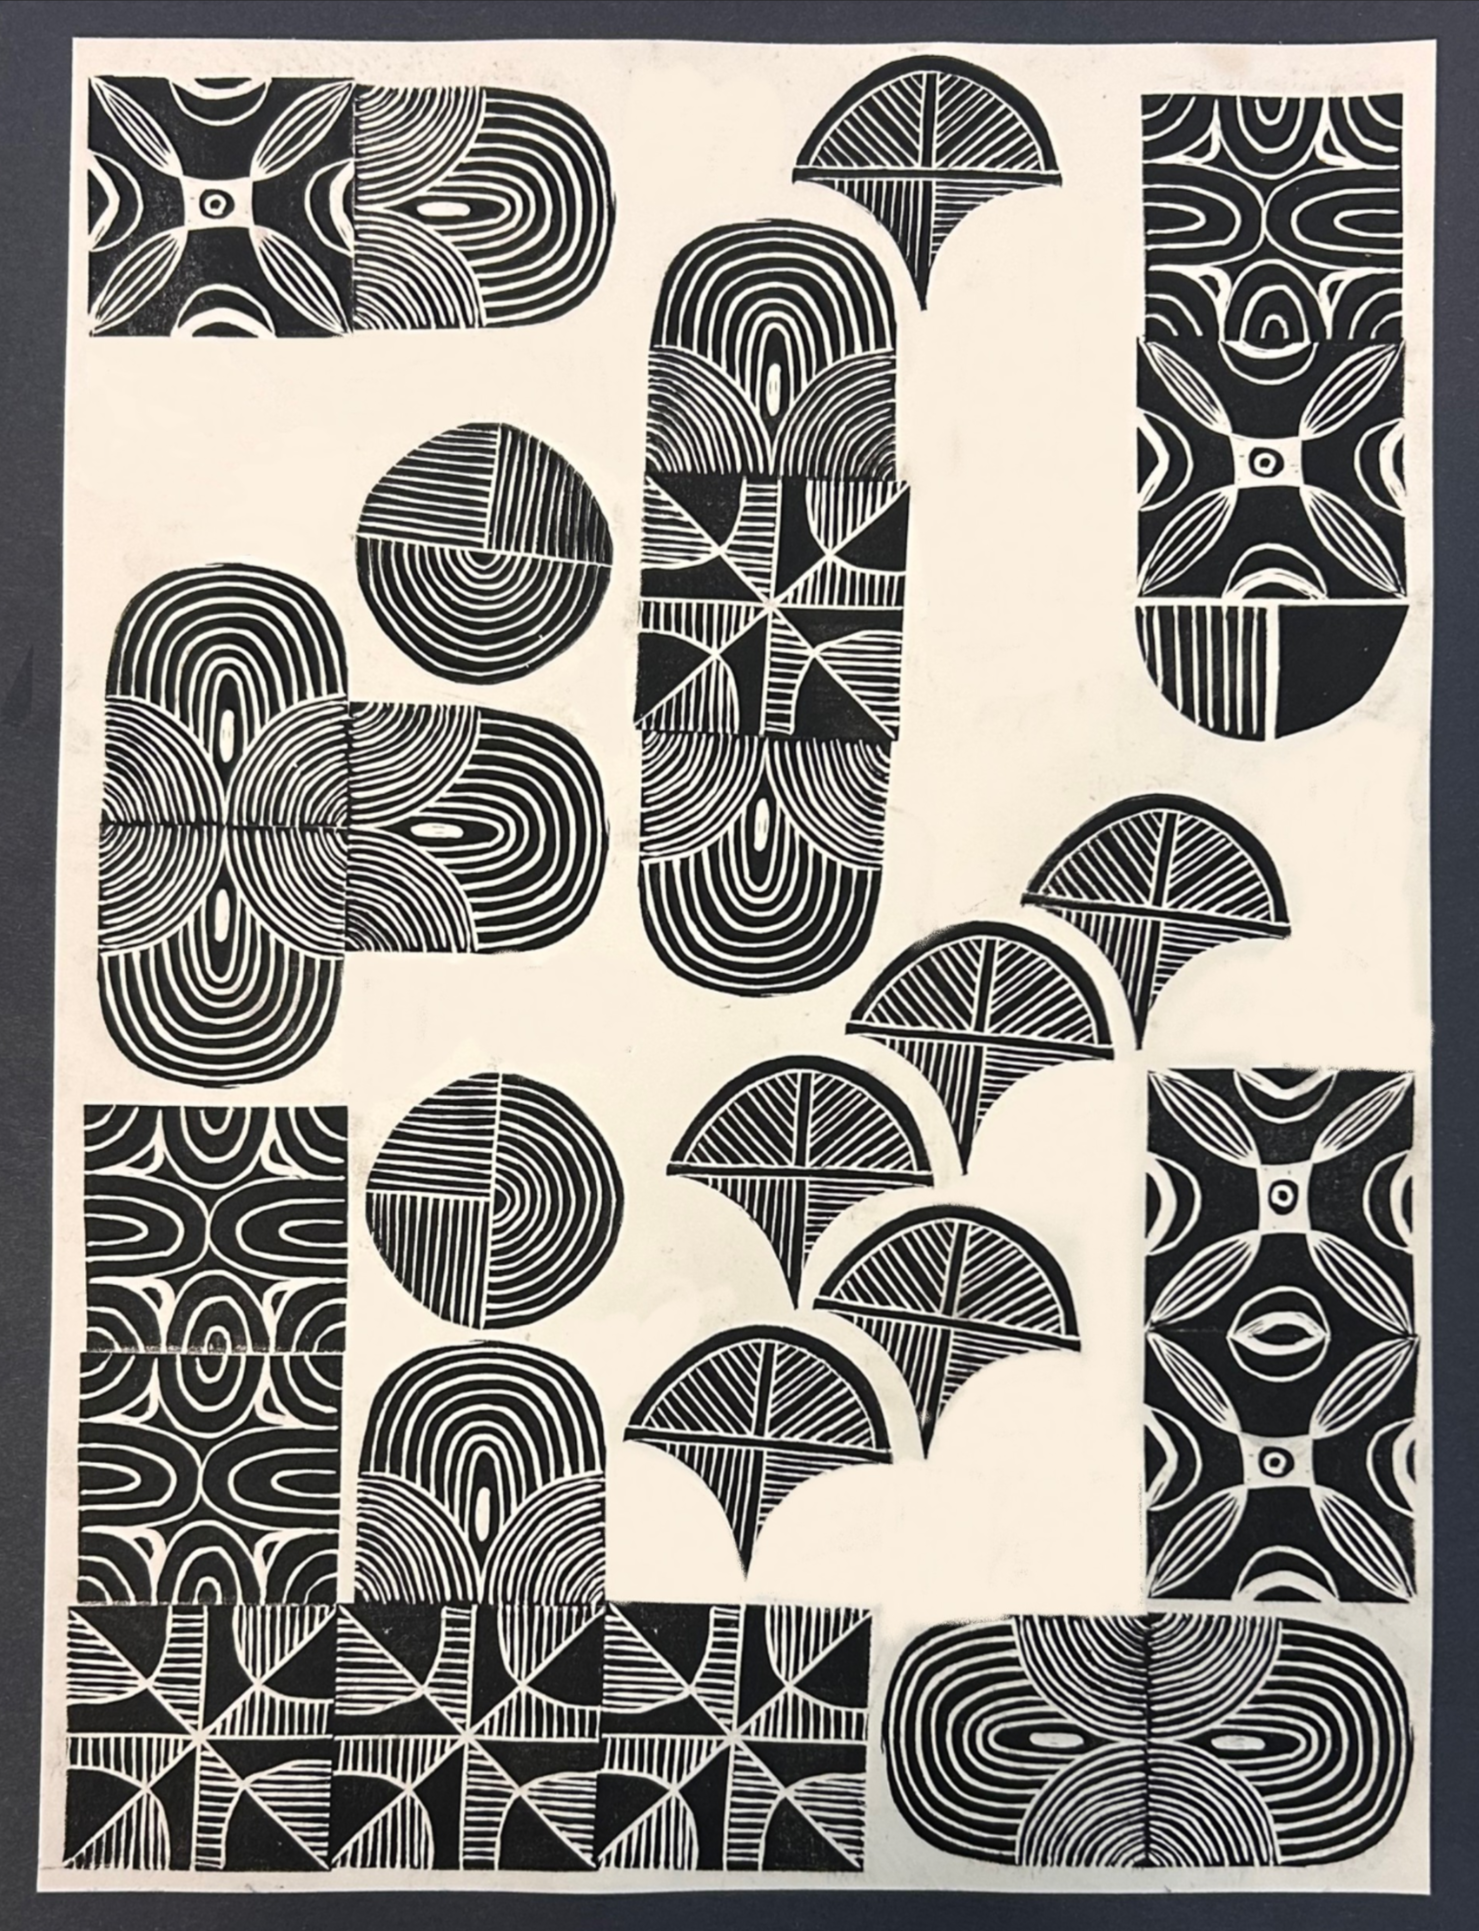
In this lesson, students design and create relief prints using motifs and repetition. They explore how positive and negative space affect the final image while experimenting with pattern and arrangement. Through multiple prints, students develop compositions that demonstrate both technical skill and the ability to communicate identity through visual design.
Essential Question(s):
How can simple motifs be transformed into complex surface designs?
Why do artists use repetition and arrangement to create patterns?
Curriculum Standard(s):
VA:Cr1.2.8a: Develop criteria for evaluating an artwork or collection of artworks.
VA:Cr2.1.8a: Demonstrate willingness to experiment, innovate, and take risks to pursue ideas through art-making.
VA:Re7.2.8a: Analyze how visual imagery influences understanding of social and cultural ideas.
VA:Cn10.1.8a: Make art that reflects personal interests, beliefs, or experiences.
Objectives:
Design a meaningful motif
Understand positive and negative space
Use repetition to create pattern
Produce a final print composition
Art History: Step-by-Step:
Hook: Sketch simple symbols that represent your identity
Introduction: View examples of printmaking and patterned designs
Observe: Identify repeated shapes, patterns, and use of space
Analyze: Discuss how repetition and arrangement create rhythm and unity
Interpret: Explore how motifs and patterns can represent identity
Practice: Experiment with basic printmaking techniques and textures
Plan: Sketch composition ideas using repeated motifs
Create: Carve/build printing plate and create multiple prints
Closure: Write a short reflection explaining how the print represents identity